Basic Info.
Product Description

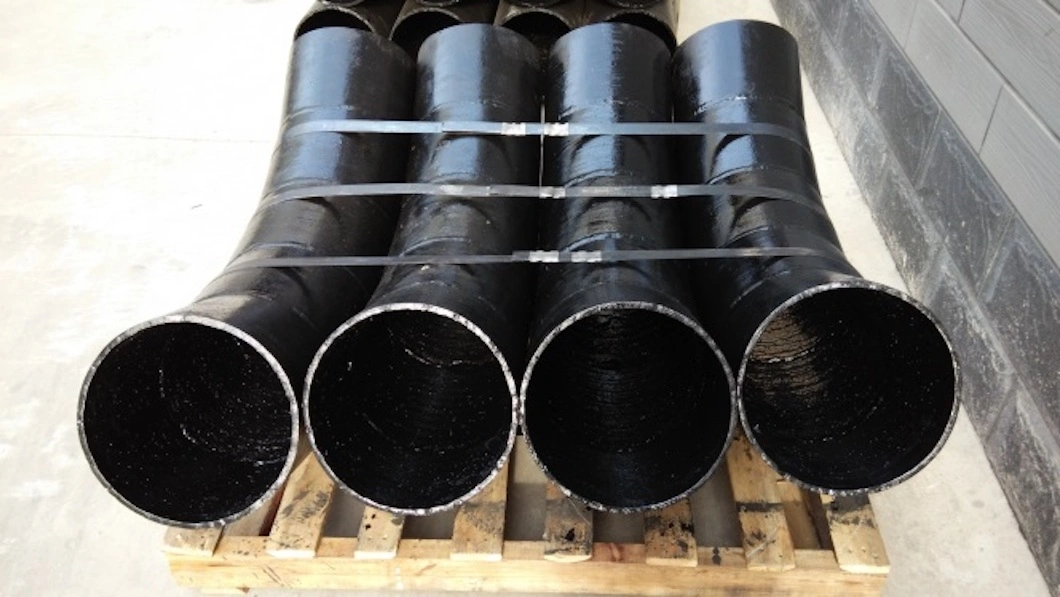
Hardfacing chromium carbide overlay pipe/tubing/elbow with extreme wear/abrasion resistance
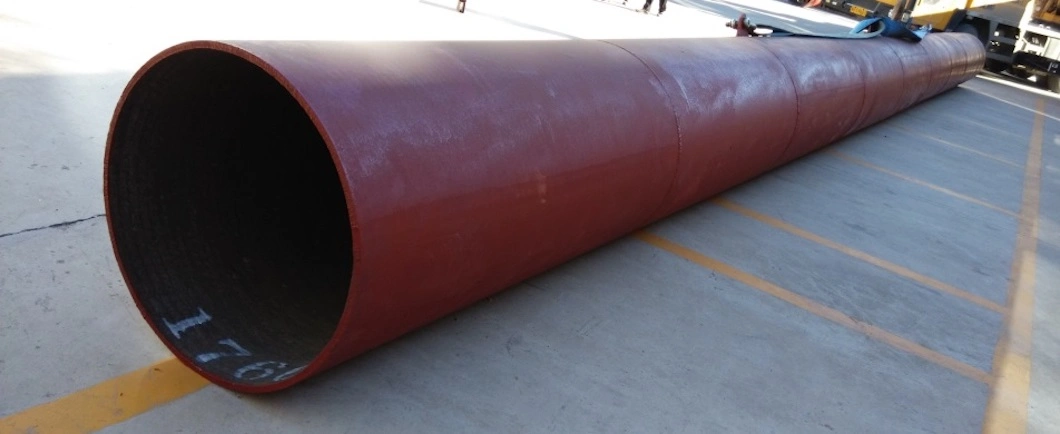
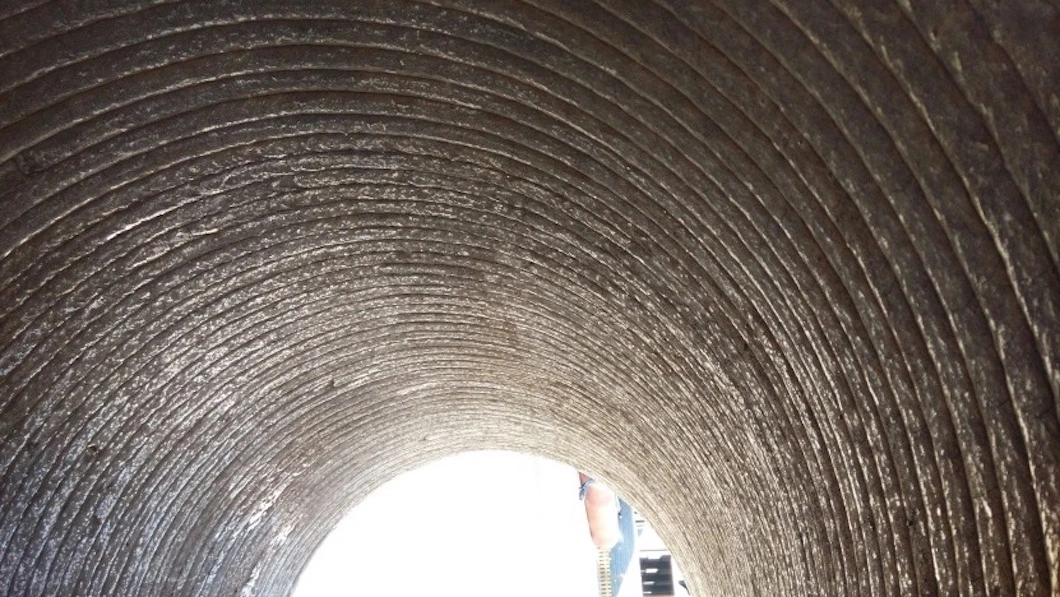
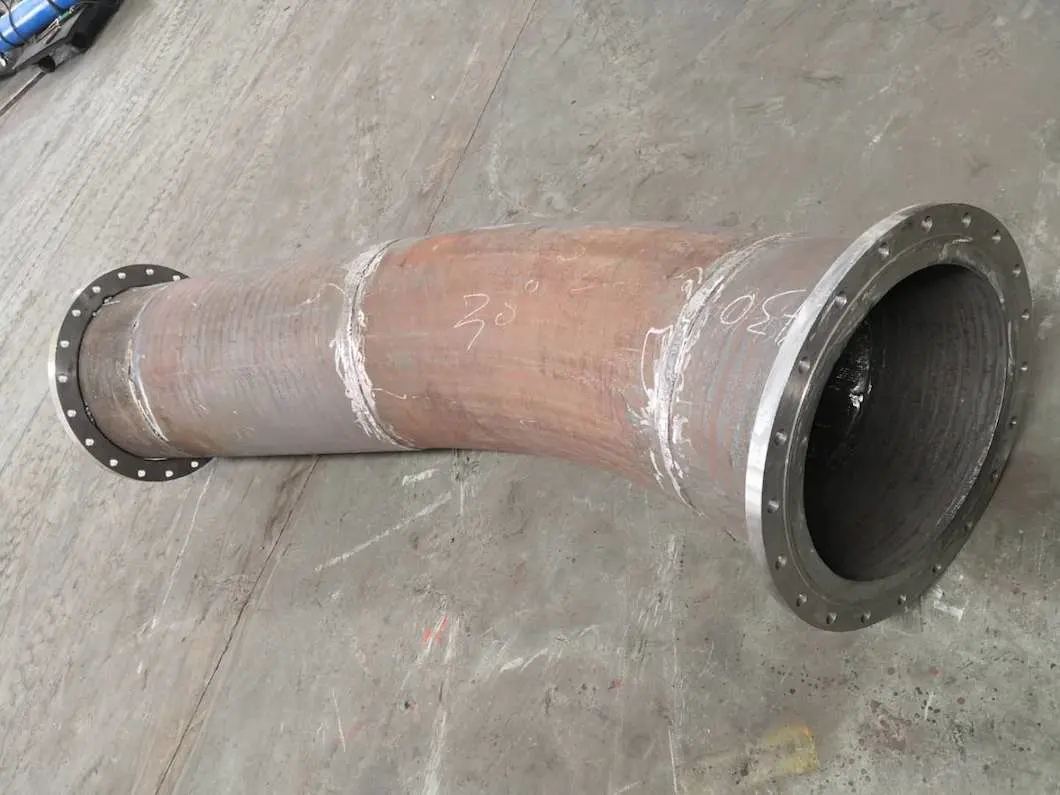
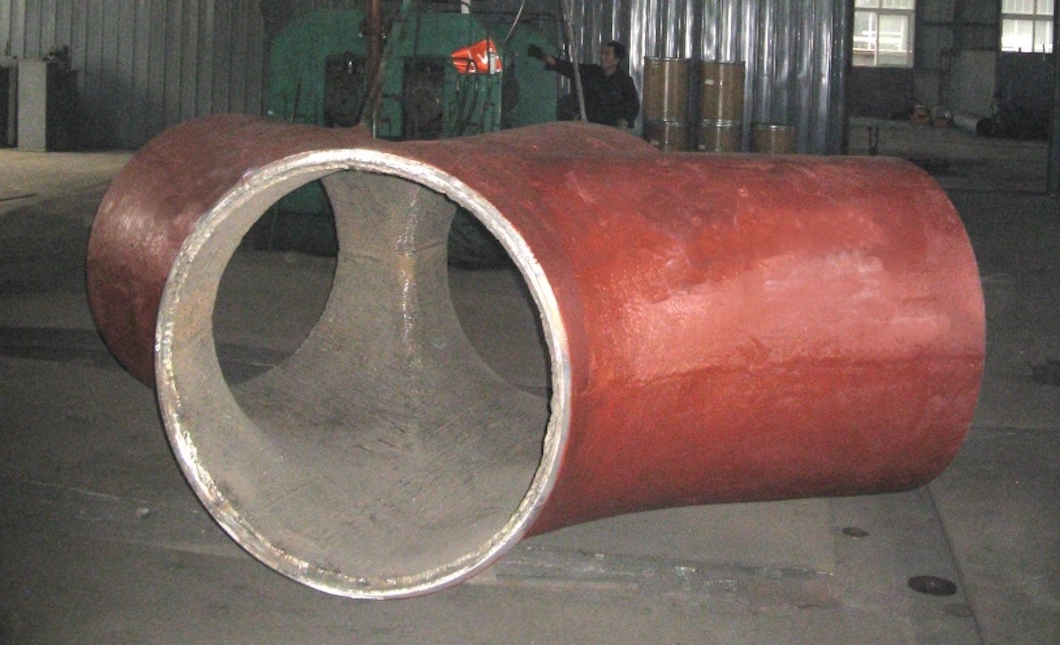
HART Hardfacing Overlay Pipe is manufactured by depositing chromium-rich, abrasion-resistant materials on the mild steel pipe, using a traditional arc welding process. The Pipe is available with double or multiple overlay passes. And it can be fabricated as square-to-round transitions, elbows, T or Y- shaped.
The hardfacing overlay pipe is designed with extreme wear capabilities for working in many applications: mining, cement, oil sands, dredging, recycling and steel production industries.
[Technical Specification Of HART-PP-100 ]
1.Outer Diameter: 80-2000mm
2. Hardfacing Layer:
Chromium carbon alloy on Fe basis(austenite)
Bulk hardness: >630HV
Mean hardness: >55HRC
Layer thickness: 3 to 30 mm
3. Welding Processes:
Advanced welding with internally or externally clad chromium carbide overlay.
4. Alloy Description:
Austenitic chrome carbide iron(Chromium white iron)
5. Carbide Hardness:
>1750HV
6. Volume Fraction of Carbide:
>30%
7. Chemical Composition:
Carbon: 3-6%
Chromium: 18-34%
*Various alloys to be used depend on different operating condition and applications.
| Thick | C% | Cr% | Mn% | Si% | HRC | |
| 3 on 3 | 3~4 | 18~20 | 0.5~1 | 0.5~1 | 56~58 | |
| 3 on 4 | 3~4 | 18~20 | 0.5~1 | 0.5~1 | 56~58 | |
| 3 on 5 | 3~4 | 18~22 | 0.5~1 | 0.5~1 | 58~60 | |
| 3 on N | 3.5~4.5 | 20~25 | 0.5~1 | 0.5~1 | 58~62 | N>5 |
| 4 on N | 3.5~4.5 | 20~25 | 0.5~1 | 0.5~1 | 58~62 | |
| 5 on N | 4~6 | 23~25 | 0.5~1 | 0.5~1 | 58~62 | |
| 6 on N | 4~6 | 24~28 | 0.5~1 | 0.5~1 | 58~62 | |
| 7 on N | 4.5~6 | 24~28 | 0.5~1 | 0.5~1 | 58~62 | |
| 8 on N | 4.5~6 | 24~28 | 0.5~1.5 | 0.5~1 | 58~62 | |
| 9 on N | 5~6 | 26~30 | 0.5~1.5 | 0.5~1 | 60~64 | |
| 10 on N | 5~6 | 26~30 | 0.5~1.5 | 0.5~1 | 60~64 | |
| 11 on N | 5~6 | 26~30 | 0.5~1.5 | 0.5~1 | 60~64 | |
| 12 on N | 5~6 | 26~34 | 0.5~1.5 | 0.5~1 | 60~64 | |
| N on N | 5~6 | 26~34 | 0.5~2 | 0.5~1 | 60~64 | N>12 |
8. Microstructure:
Composed of a high proportion of extremely hard primary M7C3 chromium rich carbides dispersed in a ductile eutectic austenite matrix.
Maintains 30% to 50% of primary carbides to provide a good wear resistance and homogenous bonding. 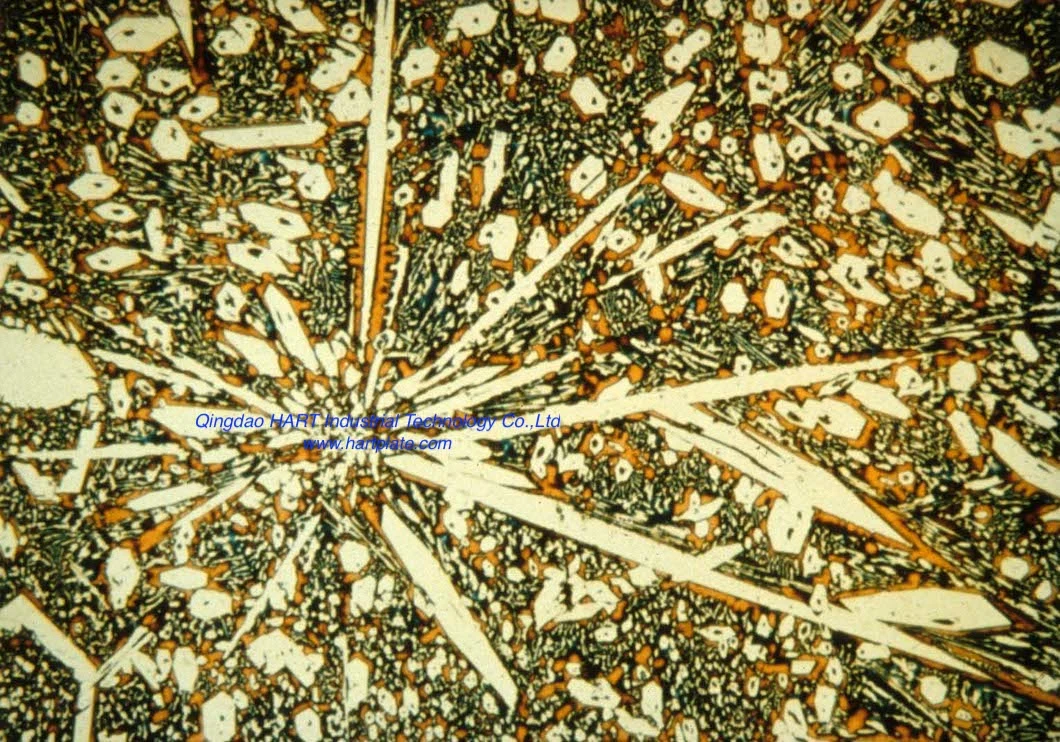
9. Typical Applications:
HART-PP-100 Pipe is widely used in the mining, power generation(Coal), cement, dredging, steel production, waste handling, glass production, and pulp and paper industries. Some specific applications include:
| INDUSTRY | APPLICATONS |
| Mining | Slurry pumps, chutes |
| Cement | Slurry pumps, chutes |
| Dredging | Dredging pipes and pumps, suction pipelines, pump discharges |
| Steel | Suction pipelines, pump discharges, air ducts, carbon injection pipes, suction lines, troughs |
| Recycling | Cullet glass |

10. Wear properties of HART-PP-100 (ASTM G65 and SGS test report)
*ASTM G65 is a standard test measuring sliding abrasion resistance using a dry sand/rubber wheel apparatus.
| HARDBANDING ALLOY | ASTM G65 -- WEIGHT LOSS | HARDNESS (RC) |
| 10+10-8 | 0.162 g/6000 revs | 64.7 |
| 10+10-4 | 0.183 g/6000 revs | 63.7 |
| 10+10-2 | 0.149 g/6000 revs | 64.0 |

11. Service
| SERVICE | DESCRIPTION |
| Cutting | 1. Can be cut by plasma, laser, water jet, arc gouge, and abrasive saw cutting; 2. Cannot be cut by oxy-fuel. |
| Welding | 1. Use 480 MPa (70 ksi) or 560 MPa (80 ksi) consumable to join base metal; 2. After welding, joint should be capped by overlay for wear protection. |
| Machining | 1. Not machinable by conventional methods; 2. Can be finished by grinding only; 3. Countersunk holes can be precisely produced by EDM (Electrical Discharge Machining). |
| Forming | 1. Commonly formed with overlay to the inside; 2. For pipes with diameters smaller than 0.6m (24"), hardfacing pipe recommended instead of pipes fabricated from hardfacing plate. |
| Drilling | 1. When drilling, the distance between two holes should be at least 15mm (5/8''); Otherwise, the partition may not be strong enough and can crack; 2. The minimum diameter of holes should be equal to the thickness of the plates. For thicker plates with a total thickness over 20mm (3/4''), the minimum diameter should be 1.5 times the thickness of the plate. |
12. Testing and quality control
We documented how the product properties are tested in order to make sure the overlay plates fulfil the specified product properties. Including documentation on 3D party's quality system if calibration and testing is performed by 3D party. 
13. Packing and loading